Building Your AI Travel Assistant from Scratch: A Step-by-Step Guide
Travel is no longer just about picking a destination and booking flights. Today, travelers and digital nomads want personalized recommendations, real-time tips, and a smart way to plan without spending hours scrolling through forums. This is where AI-powered travel assistants come in—your very own digital concierge that understands your preferences and helps you navigate the world effortlessly.
Imagine having an app that suggests the best coworking spaces in Lisbon, alerts you about cheap flights to Bali, or even recommends the quietest cafés in Tokyo for your next Zoom call. Sounds futuristic? Not anymore. You can actually build your own AI travel assistant from scratch, and it’s easier than you think.
In this guide, we’ll walk through the why, the how, and the exact steps to create your AI-powered assistant—whether you’re a traveler, a digital nomad, or a tech-savvy creator looking to launch your next big project.
Why Build Your Own AI Travel Assistant?
Before we dive into the “how,” let’s answer the big question: why bother creating your own tool when there are existing travel apps? The answer is customization. Off-the-shelf apps often fall short because:
- They don’t fully understand your specific travel style (budget traveler vs. luxury nomad).
- They lack integration with your favorite tools (Google Calendar, Notion, Slack, etc.).
- They don’t offer privacy—many apps monetize your data.
By building your own AI travel assistant, you get:
- Personalization: Tailor it to your exact needs—budget, destinations, or even dietary preferences.
- Automation: Stop wasting time comparing flights or searching for coworking spaces.
- Scalability: Turn it into a MicroSaaS and monetize it (a real opportunity for developers and entrepreneurs).
Step 1: Define Your Assistant’s Core Features
Before writing a single line of code (or setting up a no-code tool), decide what problems your AI assistant will solve. Here are some popular features to consider:
- Flight and Accommodation Search: Pull data from APIs like Skyscanner or Booking.com.
- Destination Recommendations: Use AI to suggest destinations based on preferences and seasonality.
- Coworking and Café Finder: Perfect for digital nomads who need great work spots.
- Local Tips & Events: Integrate with platforms like Eventbrite for events, or scrape data for trending local spots.
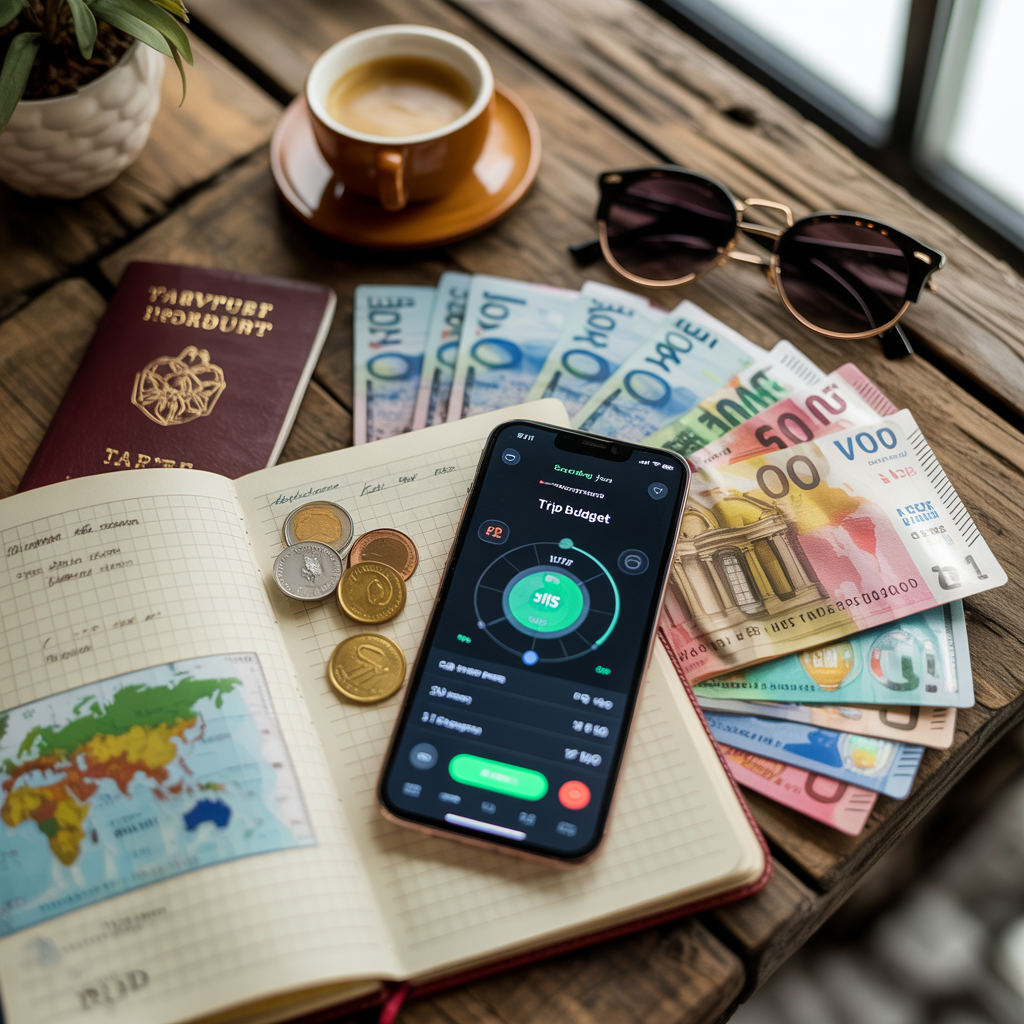
- Budget Tracking: Help travelers stay on top of expenses in real time.
- Language Assistance: Add a translation feature powered by Google Translate API.
💡 Pro Tip: Don’t try to build everything at once. Start with 1–2 core features and expand later.
Step 2: Choose Your Development Approach (No-Code or Code)
You have two main options to create your AI travel assistant:
Option 1: No-Code Tools (Beginner-Friendly)
If you want to see results quickly and aren’t interested in learning programming, no-code platforms have become incredibly sophisticated. Here are your best options:
- Bubble.io: Think of this as the Swiss Army knife of no-code platforms. It’s powerful enough to build complex apps but has a learning curve. Great for creating web-based assistants with databases and user accounts.
- Glide: Excellent for mobile-first apps. You can literally build from a Google Sheet and have a working app in hours. Perfect if you want something simple and functional.
- Zapier or Make: These are automation platforms that excel at connecting different services. Great for creating workflows like “when a flight price drops below $300, send me a text and add it to my travel planning document.”
No-code tools allow you to integrate APIs, create databases, and even embed AI models (via OpenAI API) without touching code.
Option 2: Code Your Own (Developer-Friendly)
If you’re comfortable coding:
- Backend: Python with FastAPI or Flask offers great AI integration libraries. Node.js is also solid if you prefer JavaScript everywhere.
- AI Integration: OpenAI’s API makes it straightforward to add conversational capabilities, while services like Hugging Face offer more specialized travel-related AI models.
- Database: PostgreSQL for complex data relationships, or Firebase for simpler setups with real-time updates.
- Frontend: React Native for mobile apps, or Next.js for web applications that work great on all devices.
Either way, start simple—you can always add complexity later.
Step 3: Integrate AI Capabilities
The “AI” part is what makes your assistant smart. Here’s how to bring it to life:
- Natural Language Processing (NLP): Use GPT-based models from OpenAI to handle user queries like “Find me the cheapest flight to Bali next month.”
- Recommendation Engine: Combine AI with your database to recommend destinations or cafés based on user behavior.
- Voice Commands: Use Speech-to-Text APIs for hands-free interactions.
Example prompt for AI integration:
User: “Find me a quiet coworking space in Barcelona with strong Wi-Fi and great coffee.”
AI: “Sure! Here are 3 options: [List with links, prices, and ratings].”
Step 4: Gather Travel Data (APIs and Scraping)
Your assistant is only as good as the data it uses. Here are some must-have sources:
- Flights: Skyscanner API, Amadeus API.
- Accommodation: Booking.com API, Airbnb (limited official API).
- Coworking Spaces: Coworker.com API or web scraping for local spots.
- Weather: OpenWeatherMap API.
- Currency Exchange: ExchangeRate-API.
Step 5: Build a Simple Workflow (MVP)
Here’s a practical example of how to structure your MVP (Minimum Viable Product):
- User Input: A simple chatbot interface asks:
“Where are you going? What’s your budget? Are you working remotely?” - Data Fetching: APIs retrieve flight, accommodation, and coworking data.
- AI Response: GPT organizes the info into a friendly response:
“Here’s your personalized itinerary for Lisbon: coworking at Heden, flights starting at $250, and 3 boutique hotels under $100/night.” - Optional: Save the itinerary in Notion or Google Calendar.
No-code approach: Use Glide for UI + Zapier to connect APIs + OpenAI API for text responses.
Here’s a realistic timeline for creating a minimum viable product:
Week 1: Set up your basic infrastructure. If using no-code tools, create your first simple interface. If coding, set up your development environment and basic API structure.
Week 2: Implement one core feature completely. For example, a flight search that takes user preferences and returns personalized results.
Week 3: Add basic AI conversational abilities. Users should be able to ask questions in natural language and get helpful responses.
Week 4: Test with real travel planning. Use your assistant to plan an actual trip and identify what’s missing or frustrating.
Example Workflow: User asks “I need to get from New York to Tokyo in March, preferably under $800.” Your assistant checks current prices, considers the user’s preference for afternoon flights, and responds: “I found three options under $800 for March. The best deal is March 15th with JAL for $750, departing at 2 PM—perfect for your preferred afternoon flights. Should I track prices for a few more days?”
Step 6: Test, Iterate, and Optimize
The most important step is using your assistant for actual travel planning. Book a weekend trip using only your tool. You’ll quickly discover what works, what’s confusing, and what features you actually need versus what sounded good in theory. Your first version won’t be perfect—focus on testing with real users:
- Ask for feedback: Travelers love giving input on what they need.
- Track engagement: Which features do users love? Which are ignored?
- Iterate fast: Add new features like local SIM recommendations, visa info, or even an AI-powered packing checklist.

Future Possibilities: From Tool to Business
Once your assistant reliably helps with your own travel planning, you might consider sharing it more broadly. The travel tech market is huge, but there’s always room for tools that solve specific problems well.
Monetization approaches: Subscription model for advanced features, affiliate commissions from bookings, or premium consulting for complex trip planning.
Expansion possibilities: Add features like group travel coordination, travel insurance integration, or specialized tools for specific travel types (business travel, family trips, adventure travel).
Community building: Create a platform where users share itineraries, travel tips, and recommendations, with your AI helping to organize and personalize the information.
Where to Learn More
Technical Learning:
- OpenAI Developer Documentation for AI integration
- Bubble Academy for no-code app development
- FastAPI Documentation for Python backend development
Travel Industry Insights:
- Skyscanner Travel Trends for understanding traveler behavior
- Coworker.com for digital nomad workspace data
- Travel industry reports from organizations like UNWTO for broader market trends
Your Next Step: Build It Today
Choose one approach—no-code or coding—and commit to building something simple this weekend. Don’t aim for perfection; aim for functional. You can always improve and expand later.
The travel industry is constantly evolving, and AI is becoming increasingly important for creating personalized experiences. Whether you build this as a personal tool or grow it into a business, you’re developing skills and insights that will be valuable for years to come.
Your next trip doesn’t have to involve twelve browser tabs and three hours of research. Start building your AI travel assistant today, and let technology handle the tedious parts while you focus on the adventure ahead.
Related Post: AI for Travel Planning


